

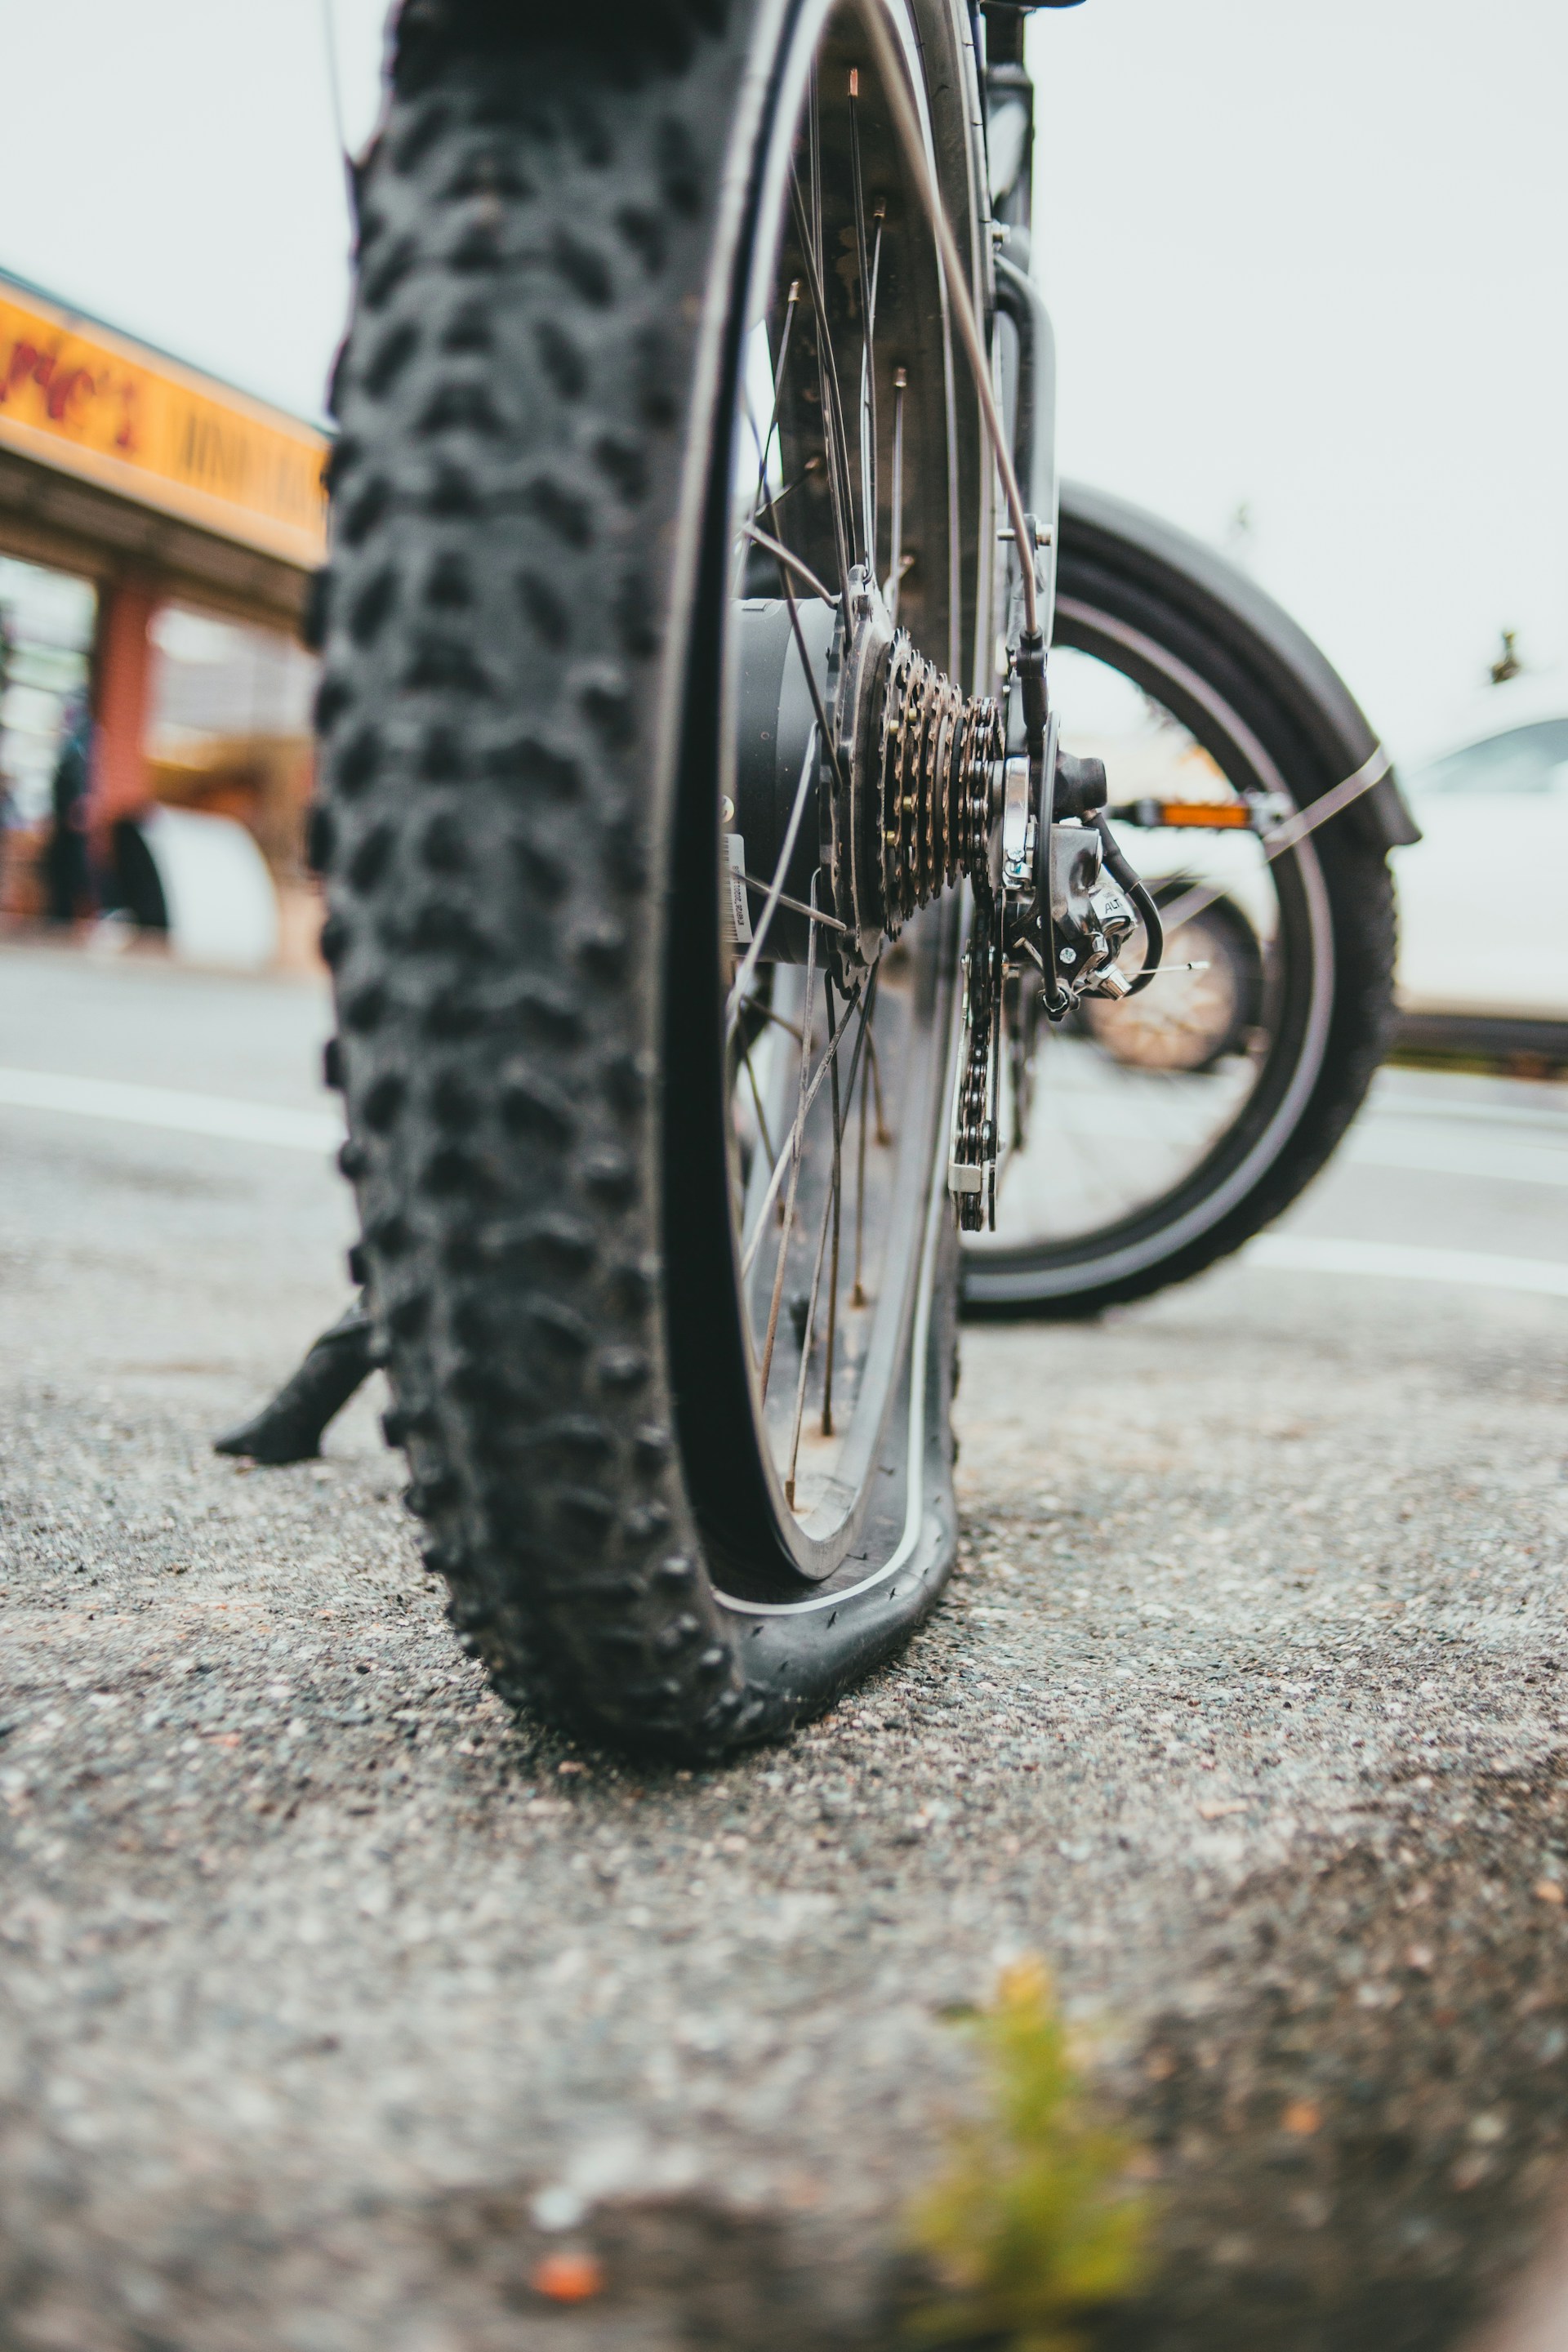
Every cyclist has experienced this: you check your bike after a few days and the tires feel soft, even though they were perfectly inflated last time you rode. Understanding why bike tires lose air helps you maintain proper pressure, extend tire life, and avoid roadside frustrations.
After years of testing different tire types and tracking pressure loss patterns across various conditions, we’ve learned that air loss is normal—but the rate varies dramatically based on tire construction, valve type, and environmental factors.
Browse This Guide
Natural Air Permeation: The Main Culprit

The primary reason bike tires lose air isn’t a leak—it’s natural permeation. Air molecules are small enough to pass through rubber at the molecular level, even in perfectly intact tires. This isn’t a defect; it’s physics.
How Permeation Works: Rubber, the material used in most bicycle tubes and tires, is naturally porous with tiny microscopic openings. Air molecules constantly move and vibrate, and over time they work their way through these microscopic spaces between rubber polymer chains. This process of air molecules escaping through the rubber material is called permeation—a natural phenomenon that causes all tires to lose air over time, even without punctures or damage.
Material Differences: Tubes, especially latex tubes, and thinner tire constructions tend to lose air much faster than tubeless systems or thicker tire materials. The thinner the barrier, the easier it is for air molecules to find their way through.
Typical Permeation Rates:
- Road bike tires (high pressure): 10-20 PSI per week
- Mountain bike tires: 5-10 PSI per week
- Fat bike tires: 2-5 PSI per week
- Latex tubes: 2-3x faster loss than butyl rubber tubes
- Tubeless tires: Similar to tubed, but sealant can slow the process
Why Higher Pressure Accelerates Loss: Tires with higher pressure lose air faster due to the increased force pushing air molecules through the rubber’s porous structure. The greater the pressure differential between inside and outside the tire, the more aggressively air molecules are pushed through the material. This explains why road bikes with 80-120 PSI lose pressure much faster than mountain bikes running 25-35 PSI.
Valve-Related Air Loss
Valves are the second most common source of air loss, and the type matters significantly for long-term pressure retention.
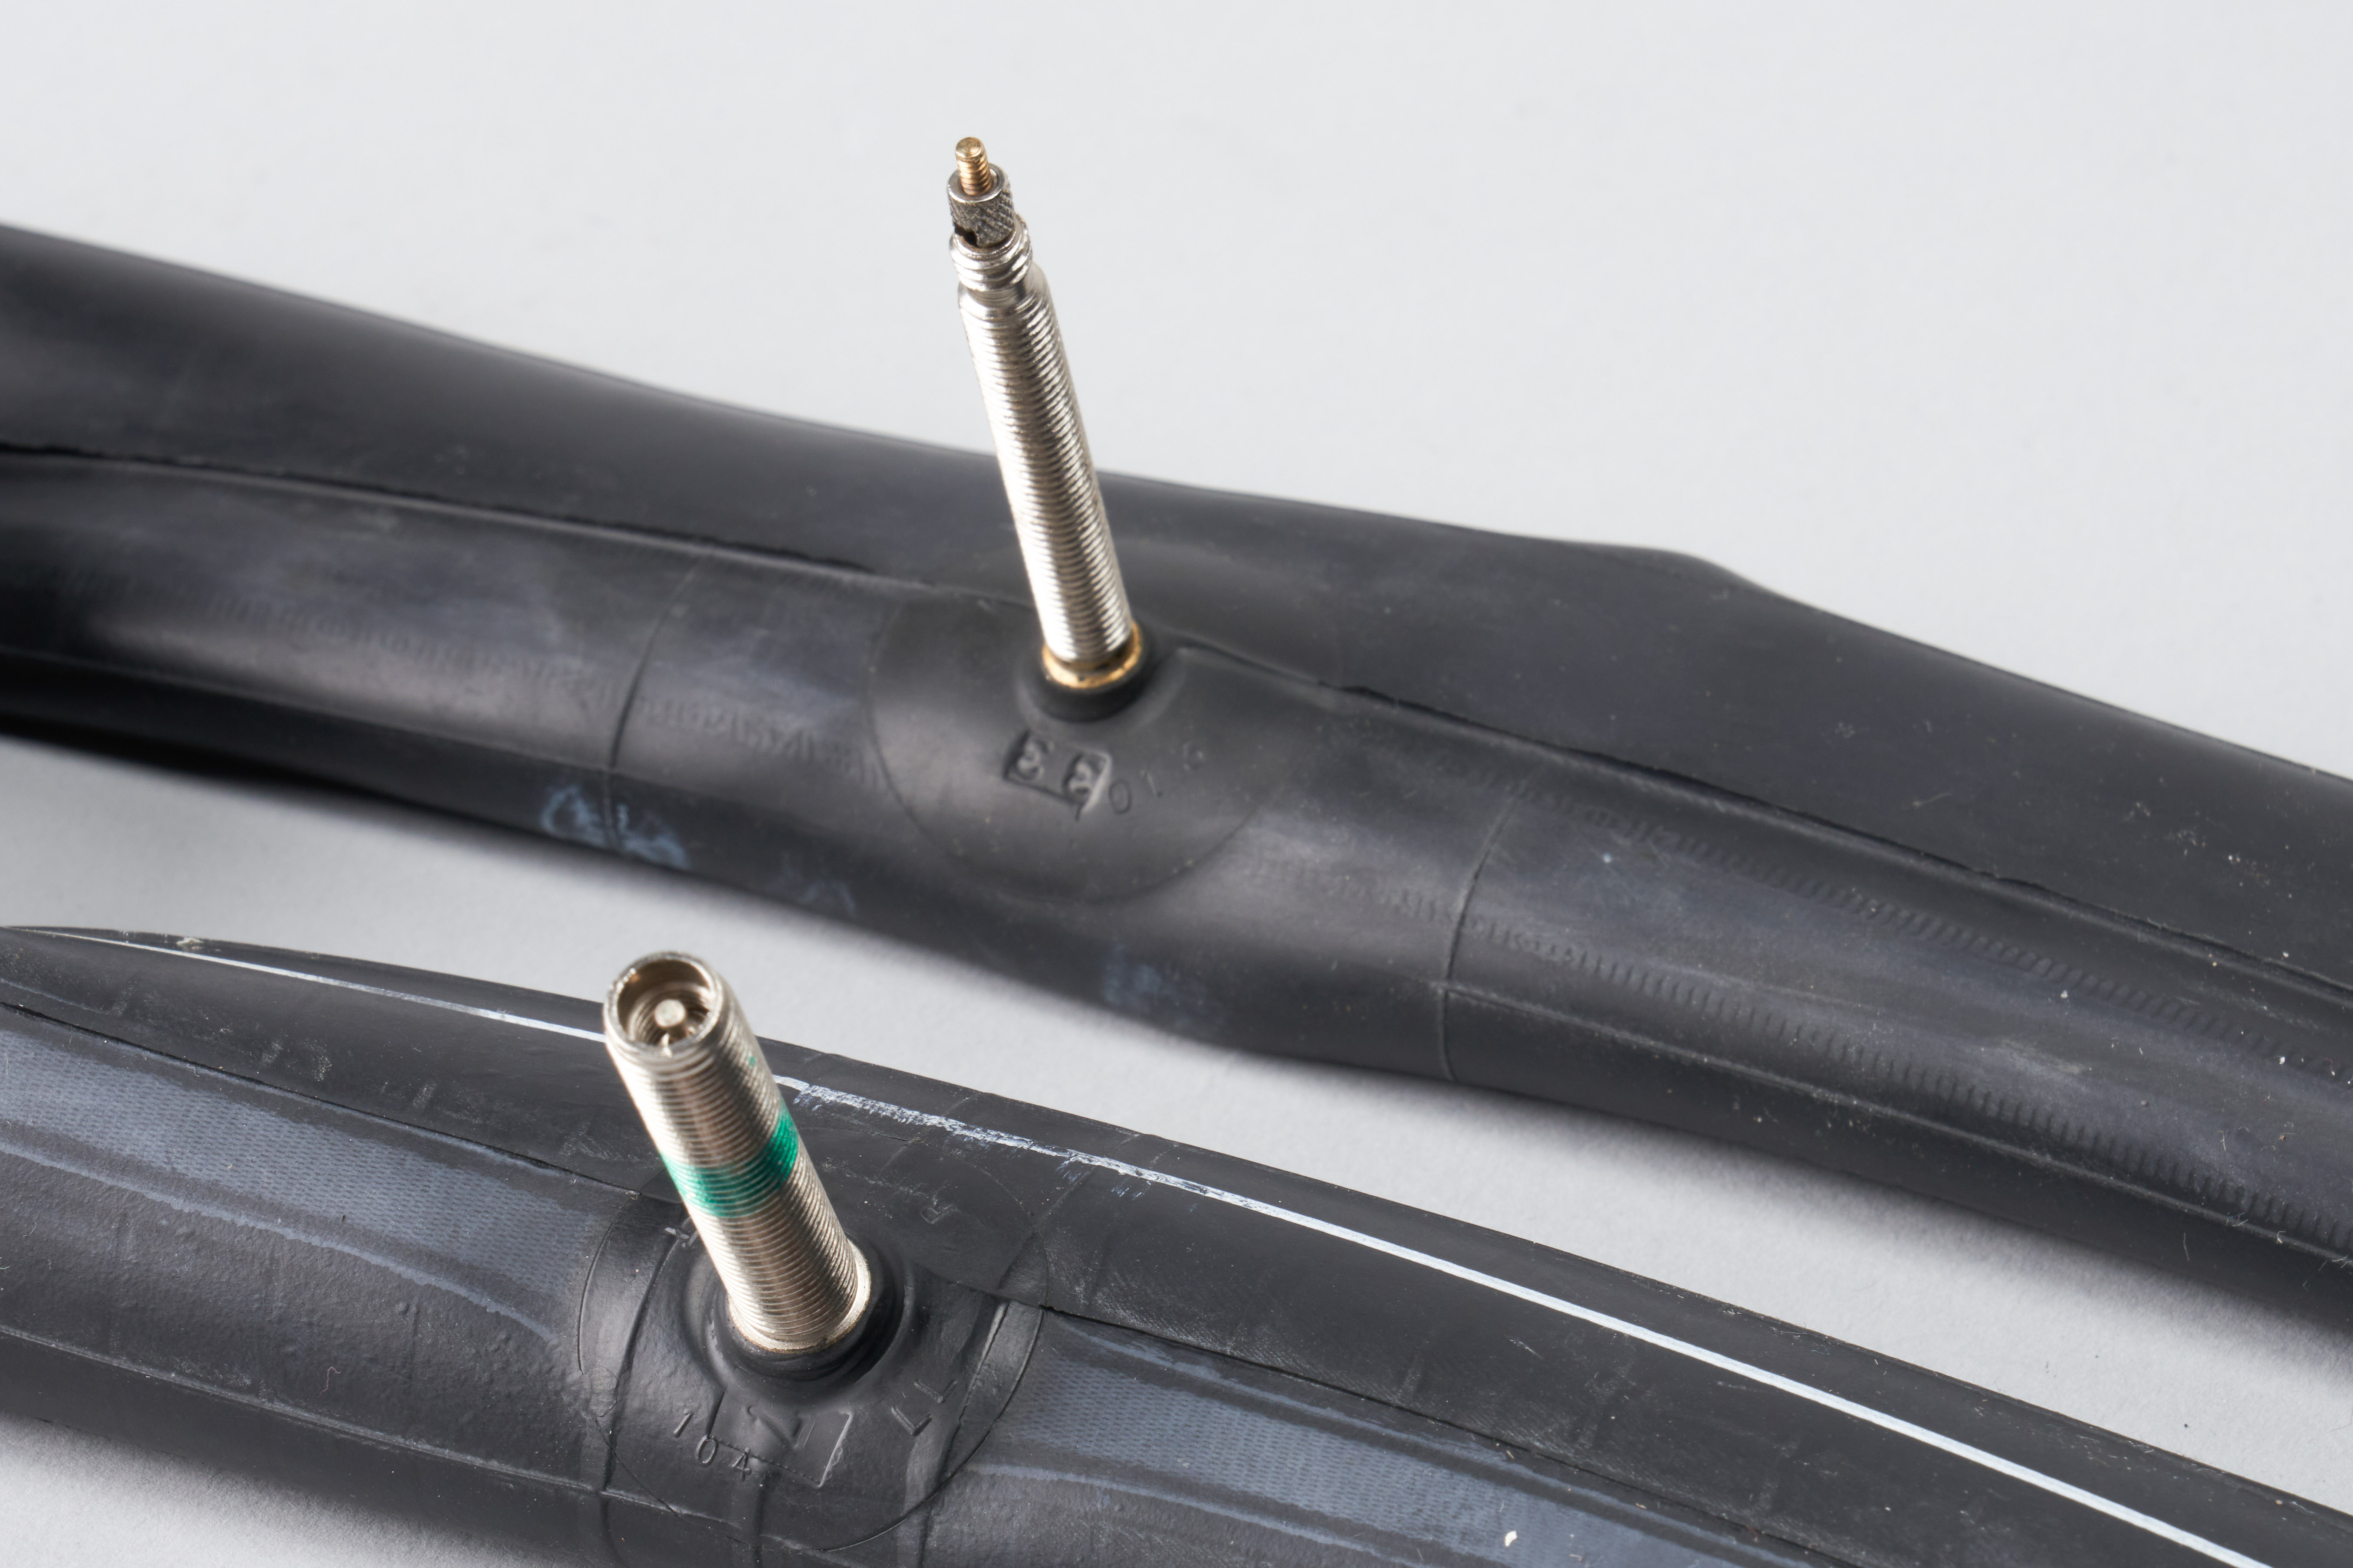
Presta Valves
Presta valves excel with their narrower design that fits through smaller rim holes, making them standard on most quality bikes. The threaded lock mechanism provides an excellent seal when properly closed, and the threaded cap system makes them less prone to dirt contamination compared to other valve types.
However, Presta valves have their weaknesses. Loose valve cores can cause slow leaks over time, damaged threads prevent proper sealing, and the thinner stems are more susceptible to bending from rough handling or improper pump attachment.
Schrader Valves
Schrader valves offer robust construction that handles abuse better than their Presta counterparts. The spring-loaded mechanism is inherently self-sealing, and the universal design means compatibility with car pumps and gas station air compressors—a huge advantage for emergency situations.
The trade-offs include a spring mechanism that can weaken over time, reducing sealing effectiveness. The wider opening allows more dirt contamination, and valve cores can loosen with repeated pump connections, especially if you’re frequently switching between different pump heads.
Valve Maintenance Tips:
• Check valve tightness monthly using proper valve tool
• Clean valve stems regularly, especially after dirty rides
• Replace valve cores annually on high-use bikes
• Avoid over-tightening, which can damage sealing surfaces
• Use valve caps to prevent dirt contamination
Temperature Effects on Tire Pressure
Temperature dramatically affects tire pressure through the gas laws. Air pressure changes approximately 1-2% for every 10°F temperature change.
Real-World Examples:
- 70°F to 40°F drop: Lose 6-12 PSI in a typical road tire
- Summer to winter storage: Can lose 20+ PSI from temperature alone
- Hot pavement riding: Pressure can increase 10-15 PSI during rides
Why This Happens: Cold air molecules move slower and take up less space, reducing pressure. Hot air molecules move faster and expand, increasing pressure. Interestingly, colder temperatures can also potentially increase the rate of air loss through permeation, as the rubber material contracts and may become slightly more porous. This is separate from the pressure change—it’s an additional factor affecting air retention.
Seasonal Considerations:
• Check pressure more frequently during temperature swings
• Inflate tires in similar temperatures to when you’ll ride
• Account for warming during rides when setting pressure
• Store bikes in temperature-stable environments when possible
• Don’t panic about pressure loss during cold snaps
Tire Type and Construction Differences
Different tire types lose air at dramatically different rates due to construction materials and pressure requirements.
Road Bike Tires
Pressure Range: 80-120 PSI
Typical Loss Rate: 10-20 PSI per week
Key Factors:
• High pressure accelerates permeation through rubber
• Thin sidewalls offer less barrier to air molecules
• Lightweight construction prioritizes performance over air retention
Mountain Bike Tires
Pressure Range: 25-35 PSI
Typical Loss Rate: 5-10 PSI per week
Key Factors:
• Lower pressure reduces permeation driving force
• Thicker sidewalls slow air molecule passage
• Robust construction includes more rubber layers
Fat Bike Tires
Pressure Range: 5-15 PSI
Typical Loss Rate: 2-5 PSI per week
Key Factors:
• Very low pressure minimizes permeation rate
• Large air volume means percentage losses feel smaller
• Heavy-duty construction with thick rubber barriers
Tubeless vs. Tubed Systems
Tubeless systems offer significant advantages for air retention. They eliminate tube permeation entirely—removing one barrier that air molecules must pass through. The liquid sealant can plug microscopic holes and actually slow the permeation process, leading to more consistent pressure retention over time compared to traditional tube setups.
However, tubeless systems require more attention to specific components. Rim tape quality becomes critical since it affects air retention significantly, and valve stems require proper installation and maintenance to prevent leaks. The sealant effectiveness decreases over time and needs regular refreshing to maintain optimal performance.
When Air Loss Becomes a Problem
Normal permeation is expected, but rapid air loss indicates problems requiring attention.
Normal vs. Problematic Loss Rates
Normal (Per Week):
- Road bikes: 10-20 PSI
- Mountain bikes: 5-10 PSI
- Fat bikes: 2-5 PSI
Concerning Signs:
• Complete deflation within 24-48 hours
• Audible hissing sounds from tire or valve
• Visible bulges or damage to tire sidewall
• Pressure loss exceeding 50% of normal rate
• Sudden changes in loss rate without explanation
Common Rapid Loss Causes
Punctures are the most obvious culprit for rapid air loss. Sharp objects like thorns, glass, or nails can penetrate both tire and tube, creating immediate deflation. More subtle are pinhole punctures from sharp debris that cause slow leaks, and sidewall cuts from rocks or curbs that compromise the tire’s structural integrity and sealing ability.
Valve issues account for many mysterious slow leaks. Loose or faulty valve cores allow air to escape gradually, while damaged valve stems—cracked or bent from impact—create persistent leak points. Improper valve sealing due to dirt accumulation or wear also contributes to air loss, particularly poor valve-to-rim seals in tubeless setups where precision is critical.
Bead and rim problems create systemic sealing failures. Poor tire bead sealing against the rim edge allows air to escape around the entire circumference. Dirt, rust, or damage to the rim prevents proper seal formation, while damaged or misaligned rim tape exposes spoke holes, creating multiple escape routes for pressurized air. In severe cases, cracked or porous rim construction itself becomes the leak source.
Slow leak combinations often prove most frustrating to diagnose. Multiple small factors combine to increase air loss rates beyond normal permeation. Gradual degradation of sealing surfaces over time reduces effectiveness, while age-related rubber hardening affects permeation rates, creating accelerated air loss that mimics more serious problems.
Preventing Excessive Air Loss
While you can’t eliminate natural permeation, proper maintenance minimizes unnecessary air loss and extends tire performance.
Regular Maintenance Schedule
Weekly Tasks:
• Check tire pressure with reliable gauge
• Inspect tires for embedded debris or damage
• Verify valve caps are in place and secure
• Look for unusual wear patterns indicating problems
Monthly Tasks:
• Deep clean valve stems and surrounding areas
• Check valve core tightness with proper tool
• Inspect rim tape condition (tubeless systems)
• Rotate tires if wear patterns suggest issues
Annual Tasks:
• Replace valve cores on high-use bikes
• Refresh tubeless sealant according to manufacturer specs
• Professional tire and rim inspection for damage
• Replace aging tires showing permeation increases
Quality Component Selection
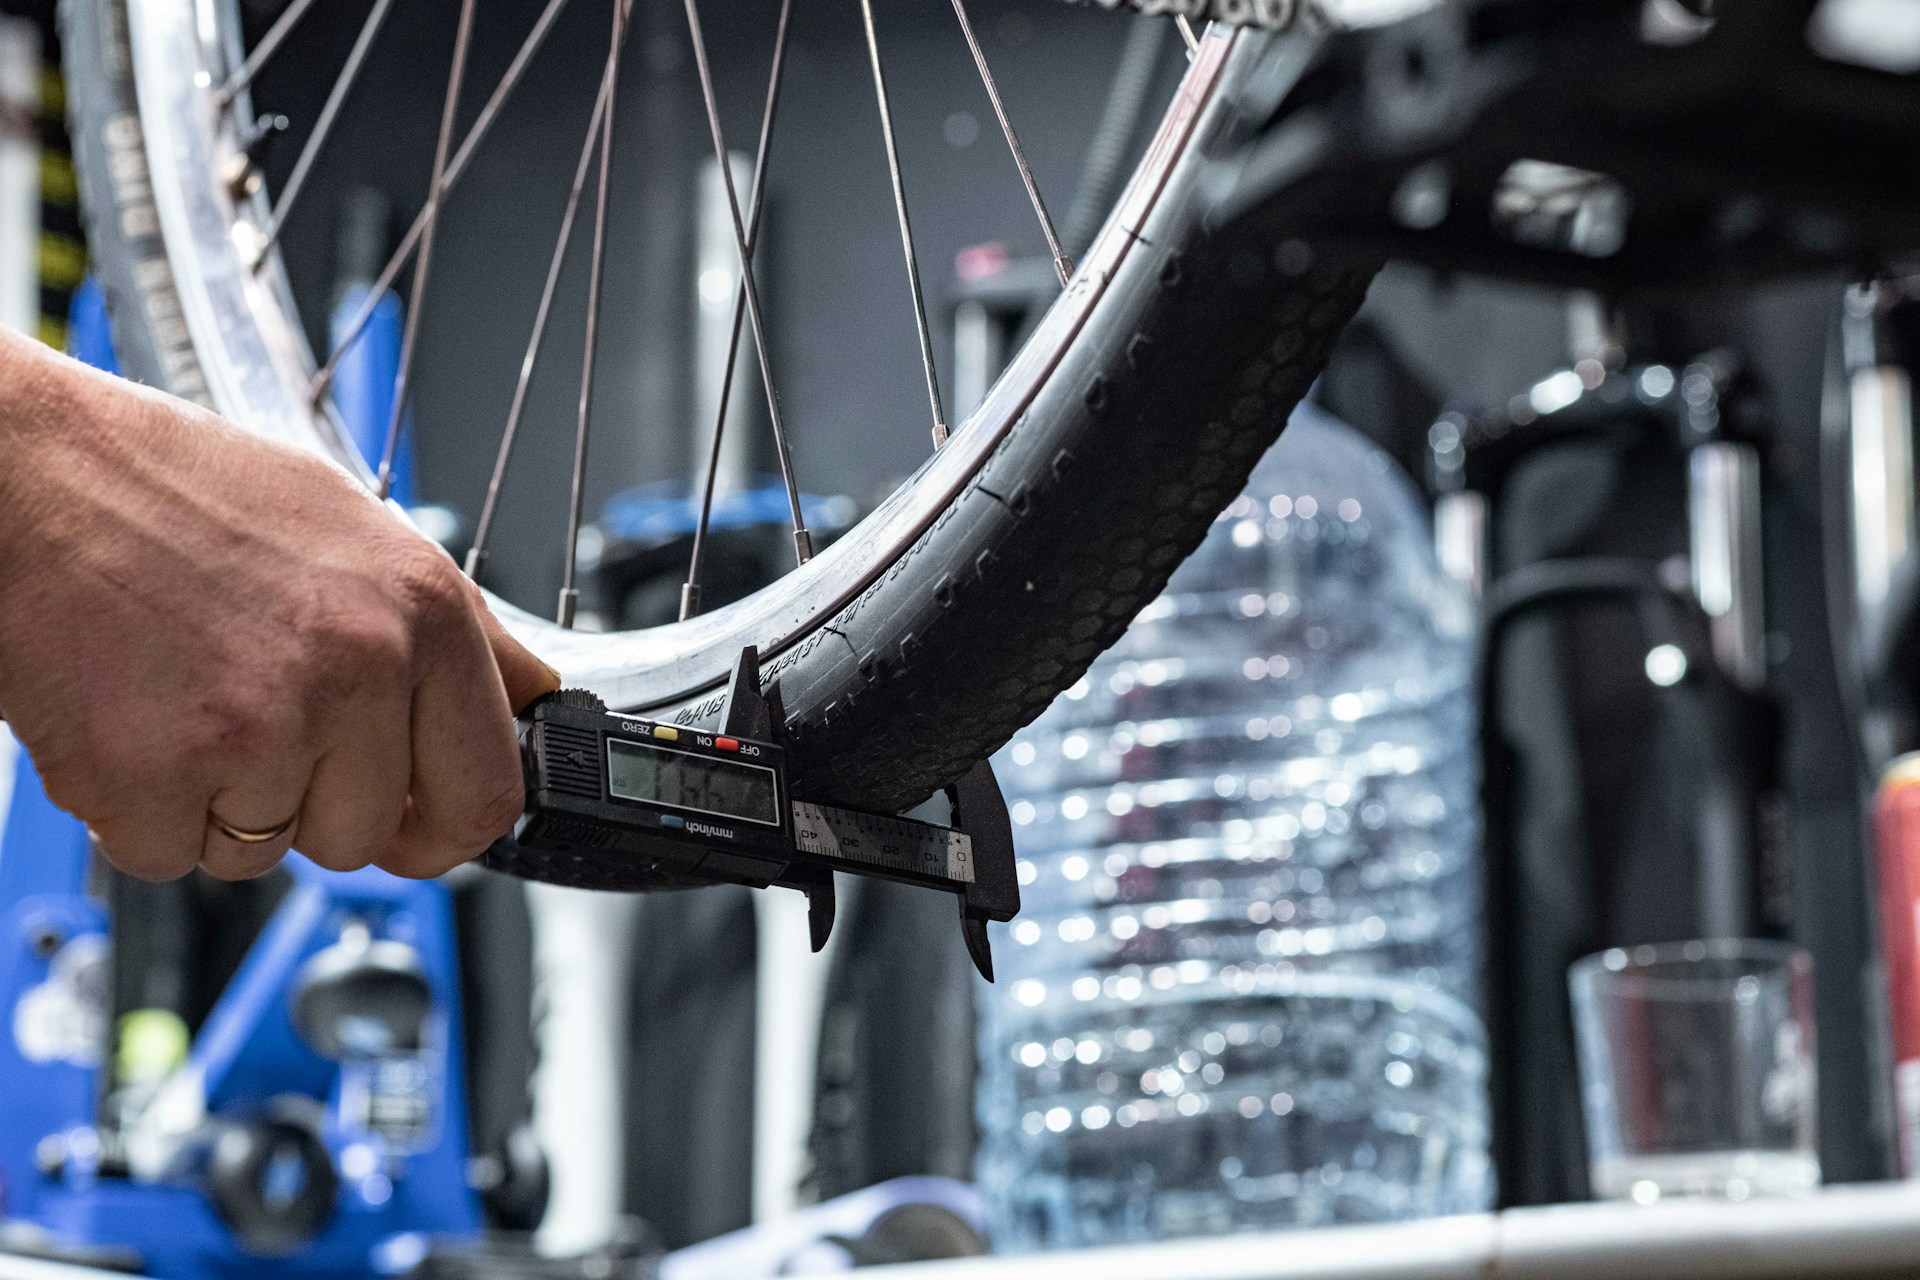
Tire quality significantly impacts air retention performance. Premium tires often use superior rubber compounds engineered to retain air longer than budget alternatives. These tires typically include puncture-resistant layers that reduce the risk of slow leaks, while proper tire sizing ensures optimal rim interface sealing for consistent pressure maintenance.
Valve upgrades offer meaningful improvements for frequent riders. High-quality valve cores provide better long-term sealing compared to standard components, while removable valve cores allow easy replacement and maintenance without tire removal. Choosing proper valve length prevents stress and damage during inflation, extending both valve and tube life significantly.
Proper Tire Pressure Maintenance
Maintaining proper pressure requires the right tools, techniques, and understanding of your specific needs. Read review of the Topeak E-booster Digital Electric Pump.
Essential Tools
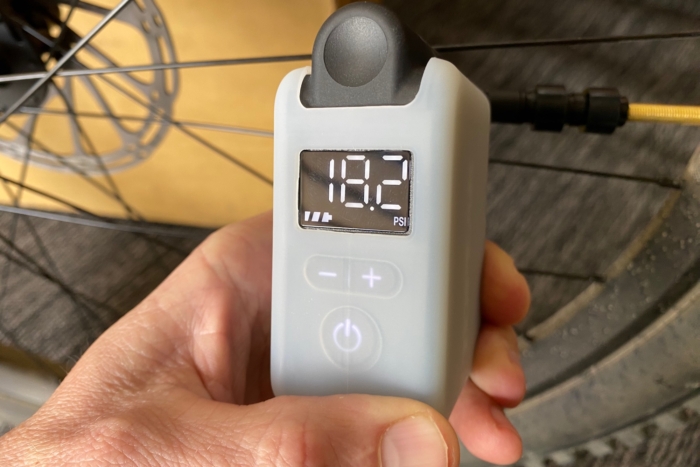
Pressure gauge selection determines measurement accuracy and ease of use. Road bike riders need accuracy within 1-2 PSI, requiring gauges with easy-to-read displays and appropriate pressure ranges. Dedicated gauges typically prove more accurate than pump-integrated versions, while digital gauges often provide superior precision compared to analog alternatives.
Pump considerations involve matching tools to specific needs. A quality floor pump with accurate gauge handles home maintenance efficiently, while a reliable portable pump ensures emergency roadside inflation capability. Pump head compatibility with your valve type prevents frustration and damage, and pumps with pressure release features enable precise fine-tuning for optimal performance.
Recommended Floor Pumps:
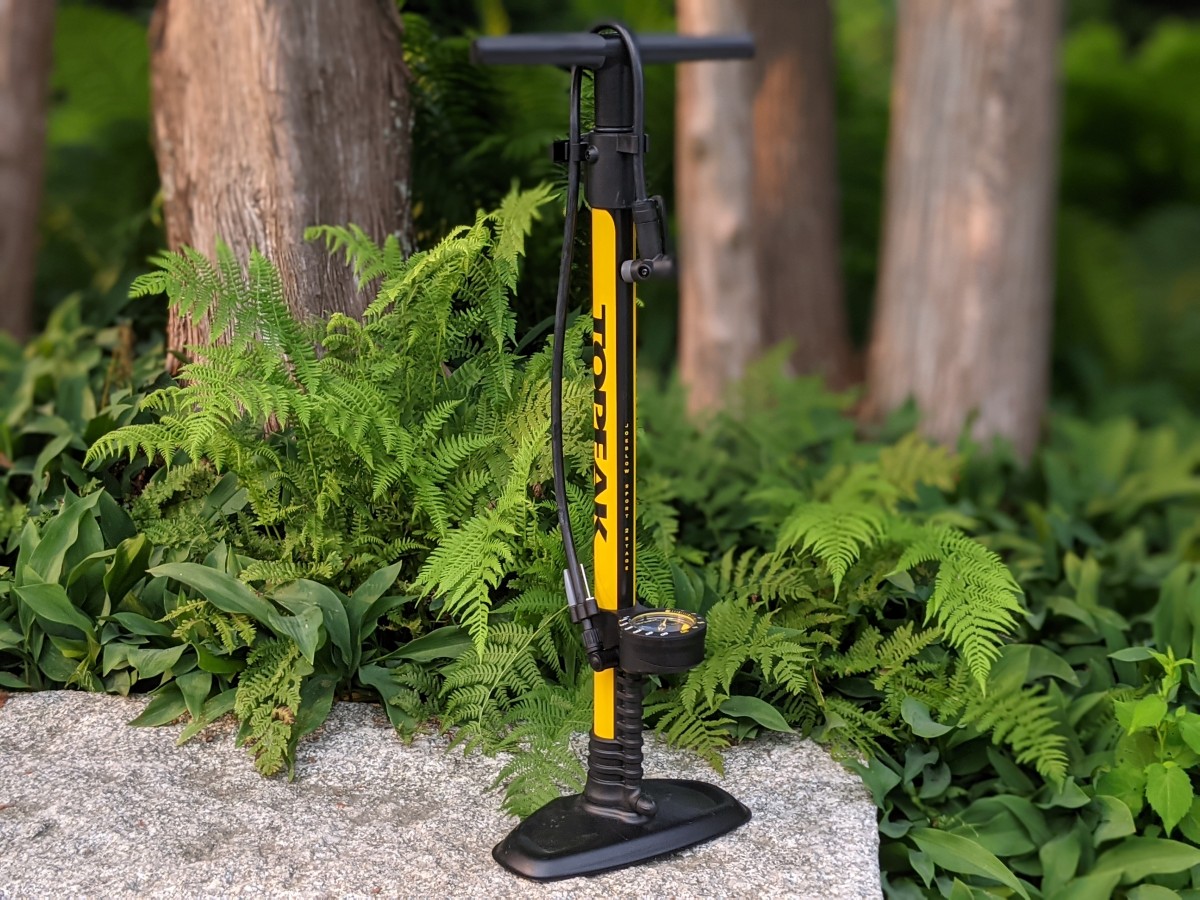
The Topeak JoeBlow Sport III offers excellent accuracy and durability for home maintenance. Its dual-head design works with both Presta and Schrader valves without adapters, and the large, easy-to-read gauge ensures precise pressure setting.
For premium accuracy, the Silca Terra Floor Pump features aluminum construction with lifetime warranty. The most efficient pump tested, with reversible chuck and in-line bleed valve for precision adjustment.
Portable Pump Options:
The Topeak 2Stage Bike Pump works for gravel, mountain, or road bike use. The two-stage operation provides high volume for quick initial inflation and high pressure for precise final adjustment. Essential for emergency repairs when you discover rapid air loss away from home.
Pressure Checking Best Practices
Timing Matters:
• Check pressure before rides, not after (heat affects readings)
• Use consistent timing for accurate loss rate tracking
• Account for temperature differences between garage and riding conditions
• Check both tires—they can lose pressure at different rates
Technique Tips:
• Press gauge firmly and straight onto valve stem
• Take multiple readings to ensure accuracy
• Record pressures to track loss patterns over time
• Inflate in small increments for precise pressure setting
Optimal Pressure Guidelines
Road bike pressure requires balancing multiple factors for optimal performance. Start with manufacturer recommendations as your baseline, then adjust based on rider weight, road conditions, and personal comfort preferences. Remember that higher pressure reduces rolling resistance but increases permeation rate, so find the sweet spot between performance gains and pressure maintenance frequency that suits your riding schedule.
Mountain bike pressure prioritizes traction and control over speed. Lower pressures dramatically improve traction and comfort on rough terrain, with adjustments needed for terrain difficulty and rider weight. Tubeless systems safely accommodate lower pressures without pinch flat risk, while seasonal adjustments help optimize performance for changing trail conditions throughout the year.
Troubleshooting Rapid Air Loss
When air loss exceeds normal rates, systematic troubleshooting identifies the cause quickly and prevents ride disruption.
Leak Detection Methods
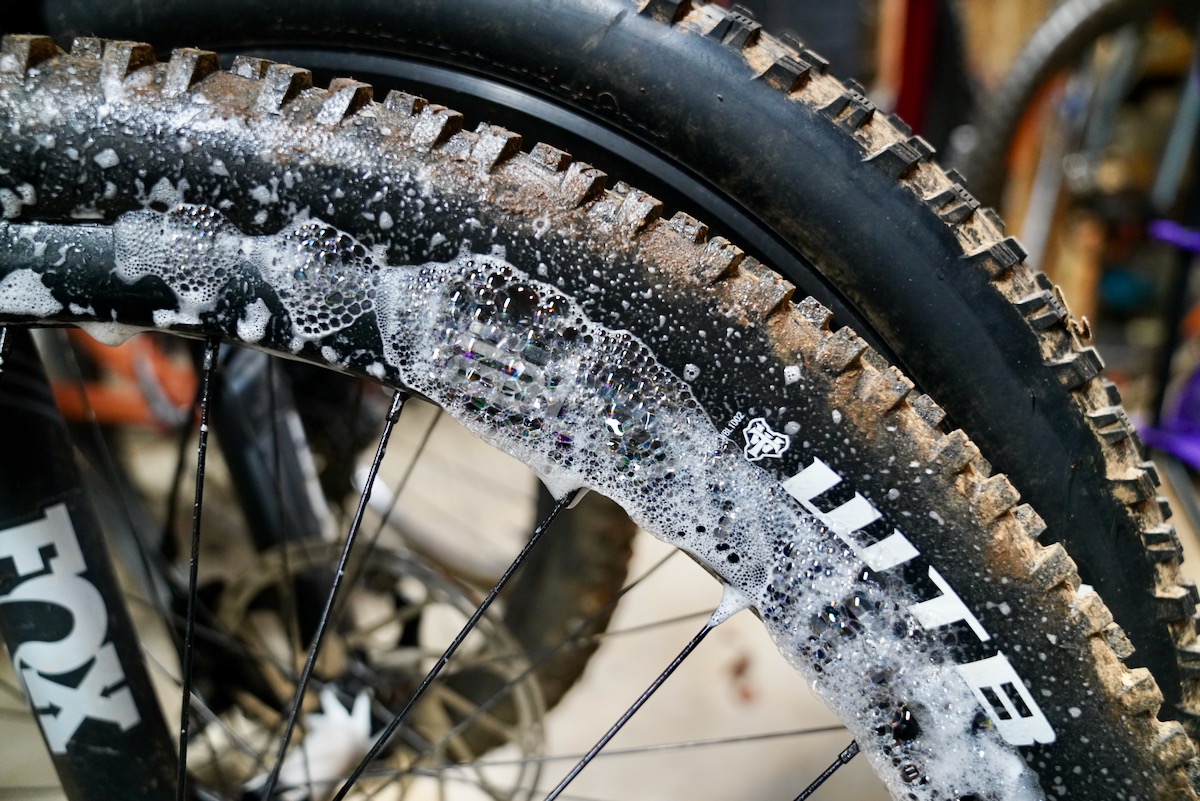
Soapy water testing provides the most reliable leak detection method for most situations. Mix dish soap with water in a spray bottle, then spray the solution on the inflated tire, focusing particularly on valve areas and suspected leak points. Bubbling immediately indicates air escape points, allowing you to mark leak locations for accurate repair assessment.
Submersion testing works best for finding elusive small punctures invisible to the naked eye. Remove the wheel from the bike for easier handling, then submerge the inflated tire section-by-section in a water bucket. Watch carefully for bubble streams that pinpoint exact leak locations, especially effective for tiny punctures that other methods might miss.
Audio detection requires patience but works well in quiet environments. Inflate the tire to normal pressure, then listen carefully around the valve stem and tire surface, moving your ear systematically around the entire tire circumference. Distinct hissing sounds indicate significant air escape routes, though this method works better for larger leaks than pinhole punctures.
Note: For accurate leak detection testing, you need reliable inflation. A quality pump like the Topeak JoeBlow Sport III ensures you can achieve proper test pressure without damaging valve components during repeated inflation cycles.
Common Problem Solutions
Loose Valve Core:
• Use valve core tool to gently tighten (don’t over-tighten)
• Replace valve core if threads are damaged
• Apply small amount of rubber cement to threads if persistent looseness
• Check that pump head isn’t loosening core during inflation
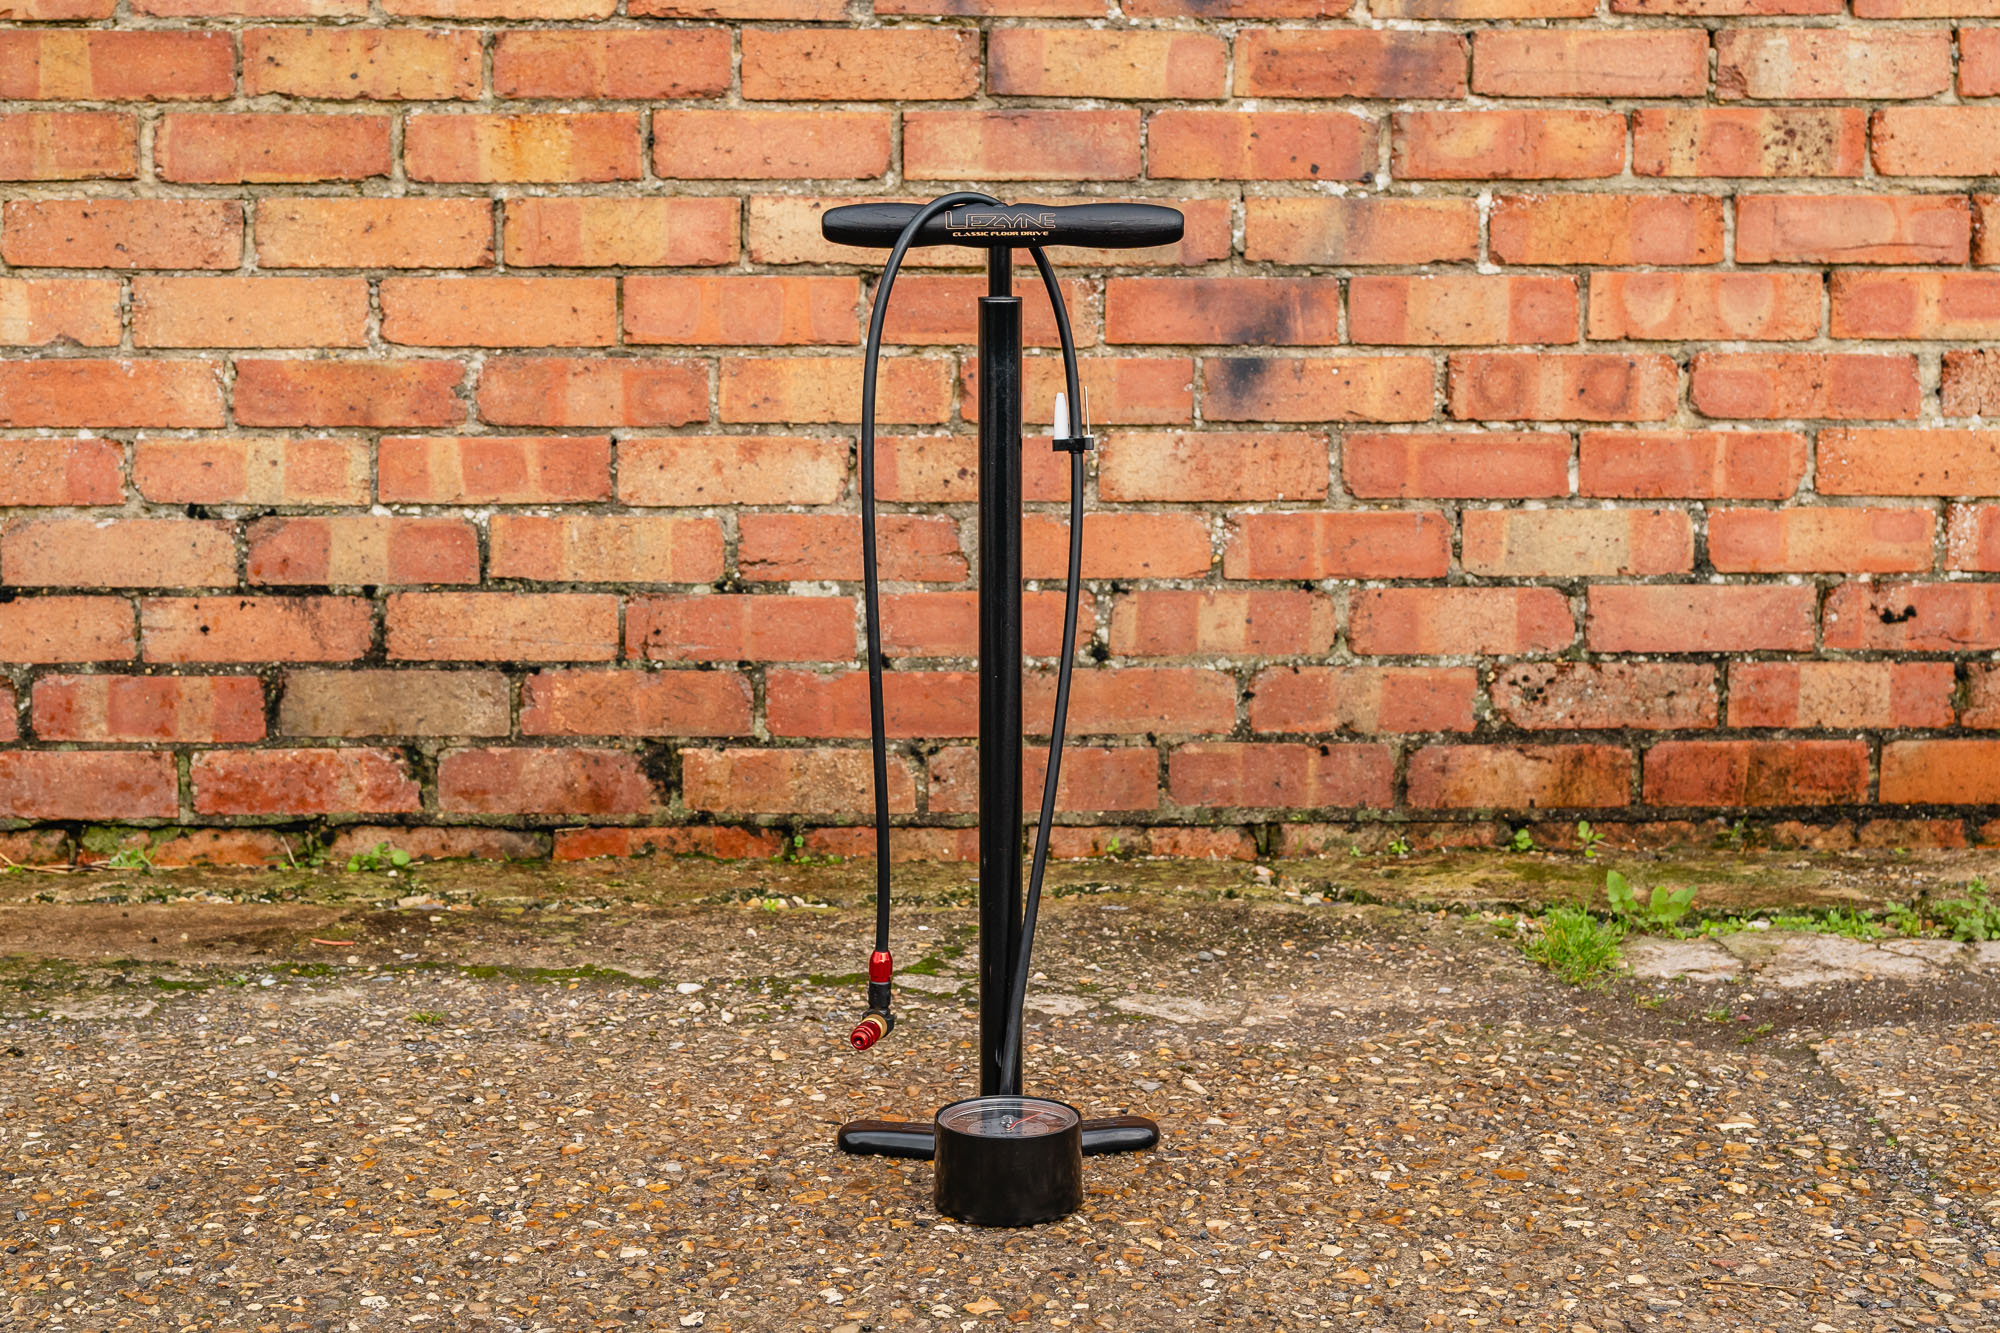
• Use a quality pump with secure head connection like the Lezyne Steel Floor Drive to prevent valve damage
Puncture repairs vary significantly based on damage severity and location. Small punctures respond well to standard patch kits when following manufacturer instructions precisely. Large punctures require more consideration—tire boots provide temporary solutions, but professional repair or replacement often proves more reliable. Sidewall damage usually necessitates tire replacement for safety reasons, as patches cannot restore structural integrity. When facing multiple punctures, carefully evaluate whether tire replacement makes more sense than applying numerous patches that may compromise long-term reliability.
Tubeless system issues demand specific troubleshooting approaches. Rim tape failure requires complete tire removal, thorough rim cleaning, and fresh tape application to restore proper sealing. Bead seating problems need careful tire lever use and attention to even bead placement around the entire rim circumference. Sealant depletion calls for fresh sealant addition according to manufacturer recommendations, while valve stem leaks require checking installation integrity and replacement if damaged components are discovered.
When to Seek Professional Help
Complex Problems:
• Persistent leaks despite apparent repairs
• Rim damage affecting tire bead seating
• Valve stem replacement in carbon rims
• Tubeless conversion troubleshooting
• Unusual wear patterns suggesting mechanical issues
Safety Considerations:
• Sidewall damage compromises tire structural integrity
• Multiple repairs may weaken tire beyond safe use
• Professional assessment valuable for expensive wheelsets
• Don’t risk safety for minor cost savings on critical components
Understanding why bike tires lose air helps you maintain proper pressure, extend component life, and avoid mechanical problems. Natural permeation is normal and expected—the key is distinguishing between normal air loss and problems requiring attention.
Regular pressure checks, proper maintenance, and quality components minimize air loss and ensure reliable performance. When rapid air loss occurs, systematic troubleshooting quickly identifies causes and appropriate solutions.
Whether you’re commuting daily or riding weekends, proper tire pressure maintenance improves performance, safety, and enjoyment while reducing long-term costs through extended component life.
Everything We Recommend
Other Bike Pumps Worth Considering
If you want a floor pump with an extra-long hose: Consider the Blackburn Core Pro, which has a 51-inch hose (the longest I tested). This pump goes head-to-head with the Silca Terra in many ways — as in, it has the exact same pump head as the Terra (but in a different color) — and its pumping efficiency is within a few strokes of our upgrade pick. However, the Core Pro’s gauge is frustratingly difficult to read, with small black numbers on a dark background that nearly disappear in the gloom of my garage. It also doesn’t have a two-stage gauge.
If the Lezyne Pressure Drive is unavailable: We suggest the Topeak RaceRocket. It measures just 7 inches, but a flexible hose and rubber grip make it feel bigger — and thus, easier to hang onto while pumping. One hundred pumps on a road tire yields a respectable 51 psi (another 50 pumps yields 72), but 100 pumps on a gravel tire nets just 14 psi, and the same number on a mountain bike tire yields a paltry 4 psi — even worse than the Pressure Drive.
If you primarily inflate mountain bike tires with your mini pump: Look at the ROCKBROS Mini Bike Pump; it’s a dual-purpose hand pump and CO2 inflator that reaches 110 PSI. Compatible with both Presta and Schrader valves, it works well for both road and mountain bikes. The dual functionality gives you the reliability of a hand pump with the speed of CO2 when needed, making it versatile for different riding situations and tire pressure requirements.
If you don’t have the arm strength or mobility to use a mini pump: Try the Topeak e-Booster Digital, a palm-sized electric pump that inflates tires up to 120 psi with digital precision. Features auto shutoff at preset pressure, fast 45-minute USB-C charging, and works with both Presta and Schrader valves. No more CO2 cartridge waste, though you’ll need to keep it charged.
The Competition
Floor pumps:
The Specialized Air Tool MTB tops out at 40 psi. That’s fine for riders with low-pressure needs, but too limiting, unless you never plan to own — or need to inflate the tires on — a gravel, hybrid, or road bike.
The Lezyne Classic Floor Drive 3.5 was our top pick for a previous version of this guide, but it’s more expensive than the Lezyne Steel Floor Drive 3.5, and the gauge on the one I tested consistently read 5 psi too high.
The pump head of the Planet Bike ALX 2.0 is plastic, and its lever smashed more fingers than any other pump in the test. Its gauge is also small and hard to read.
The Blackburn Core 3 has a novel reverse-lever pump head that flips down instead of up. The design is easier to use when inflating tiny balance-bike tires, but the lever requires you to have one hand on each side of the tire, so it’s difficult to work the pump with the valve at 6 o’clock, where the ground would lend stability.
The Lezyne Macro Floor Drive Dual Valve has two pump-head ports built into a single head to accommodate both valve standards. However, this makes the pump head large and harder to attach.
The Crankbrothers Sterling floor pump’s gauge deviated by 13 psi from my handheld gauge. The Crankbrothers Klic has a hose that’s stored in the pump body and attaches magnetically. It’s aesthetically pleasing, but the extra step feels excessive for near-daily use.
I struggled to engage the Planet Bike STX’s dual-standard head on short valve stems. Plus, its narrower-than-average handle impeded pumping efficiency.
Mini pumps:
Road (high-pressure): The Lezyne Gauge Drive HP confirmed that gauges add unnecessary weight and complexity to what should be a simple tool.
I liked the fold-out handle on the Planet Bike Fresh Air mini pump, but its gauge wasn’t accurate, and switching between Schrader and Presta involves keeping track of small fiddly bits.
The Lezyne Pocket Drive and Pocket Drive Pro were tiny but inefficient across all categories. Both include a CO2 chuck though, so they could work for topping off a tire after CO2 inflation.
Gravel (two-stage): The Blackburn Grid2Stage is far bigger and heavier than the Topeak Gravel 2Stage.
The Blackburn Airstik 2Stage is significantly smaller but struggled to inflate road tires, even on its high-pressure setting.
The Crankbrothers Gem lacks a hose, which made it too easy to dislodge from the valve.
Mountain (high-volume): The Air Tool MTB from Specialized is fairly well-rounded for a mountain-bike specific pump (65 pumps yielded 50 psi in a road tire), but it tops out at 60 psi. Also, swapping between Presta and Schrader is a pain.